Mosaic Art
Workshop
Step-by-Step Guide
Dive into the mesmerizing world of mosaic art with our step-by-step guide. Unveil the secrets behind transforming ordinary glass into radiant lamps, discovering the magic of creativity at every mosaic moment.
Workshop Timeflow


Color Palette Ideas
We've put together some color palettes inspired by iconic places in
Turkey just for you! You're welcome to use any one of these palettes
or create your very own.


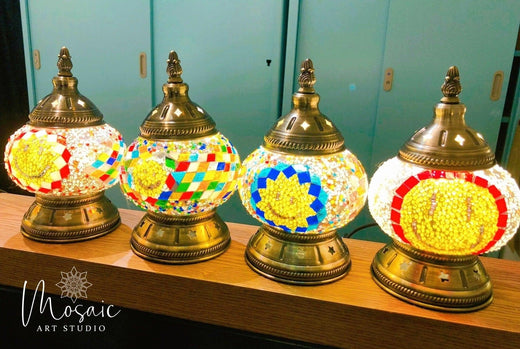
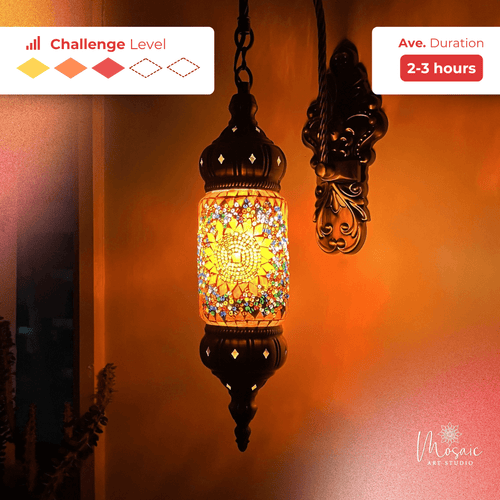
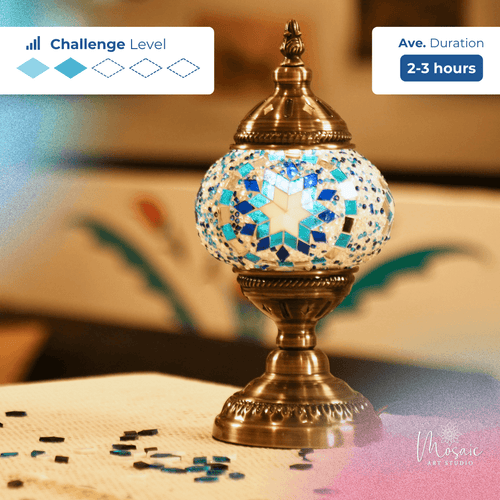
Sample Projects
Take inspiration from any of the samples or feel free to utilize them as references.

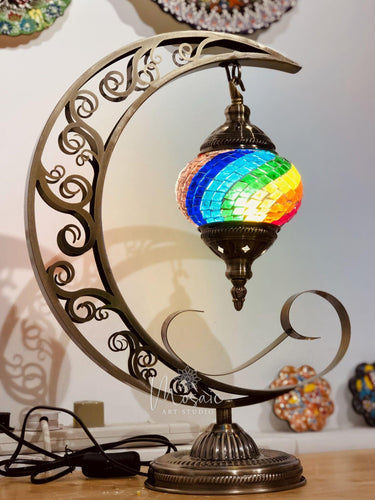

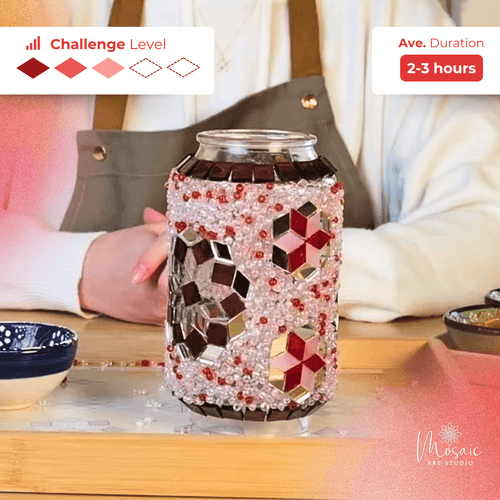


Valentine's Day Projects
STEP 1 : Designing
A. MAKE YOUR DESIGN
Create a unique, traditional Turkish pattern on a glass with 2-3 main and 2-4 smaller patterns. Add colored glass one by one on the paper.
Get inspired by the Traditional Turkish patterns presented in the workshop or unleash your creativity to craft an exclusive design. Depending on the size of the glass you are making, we generally recommend 2-3 main patterns and 2-4 smaller patterns. After choosing the pattern, gradually add colored glasses onto it. When you feel confident with your final arrangement, you're done with this step. Happy crafting!

STEP 2 : Applying Mosaics

A. APPLY GLUE
Apply glue to the glass globe, ensuring it's spread thinly and evenly.
Gently squeeze the glue bottle and spread a thin layer on the glass globe, ensuring it isn't too thick or too thin. The glue dries quickly, so apply it to an area that's as big as a single pattern or smaller.If too much glue has been applied, the mosaic tiles may slide on the surface and become difficult to handle. A quick fix for this is to use the tip of the glue bottle to spread the excess glue evenly.If you accidentally get glue on the top of your mosaics, don't worry. Just let the glue dry and then it can be removed with ease. So even if you gave it your best shot, remember to be patient and let the glue completely dry before trying to remove it.
b. Transfer Your Design
Transfer mosaic pieces to the globe one by one. Start from the center for easier placement and fix the glasses in place by pressing them gently.
Transfer the patterns from the paper onto the glass globe, placing each piece one by one. Start from the center of the design to ensure proper alignment, and work your way outwards to complete the beautiful pattern. And as you place each piece of glass, be sure to press them lightly to secure them in place perfectly. With a bit of patience and precision, you'll soon have a gorgeous piece of art to display with pride!

C. Finalize Your Design
1. To ensure the best results for your mosaic design, repeat the first 3 steps for each of your designs. Once you've completed them all, check if all the patterns are in the right place.
2. Keep in mind that excessive glue can cause the design to move downwards, but don't worry - you can relocate the mosaics if needed.
3. Be sure to arrange the mosaics close to each other to minimize gaps between the glasses. Any gaps will be filled with grout, which can prevent light from passing through those areas.
STEP 3 : Filling the Gaps

A. Apply Glue for Beads
Apply glue to the glass where you want to add beads. Use a moderate amount of glue, but not too much, and apply it to a small area.
Apply glue to the desired area of your glass where adding beads. We recommend applying the glue to a small, measured area, avoiding over/underuse. For this project, you may consider using slightly more glue compared to what is used for mosaic patterns, but be cautious not to overdo it.


B. ADD BEADS
Apply mixed beads on glue. Pack tightly in one layer, covering the entire globe with no gaps.Take your mixed beads and pour them on the area where you applied the glue earlier. Don't worry if it seems like you've put too many beads - you haven't! Once you've poured them, gently use the back of your tweezers to push down and squeeze the beads together. Repeat this process until the entire globe is covered with no gaps. Ensure the beads are tightly packed with only one layer.
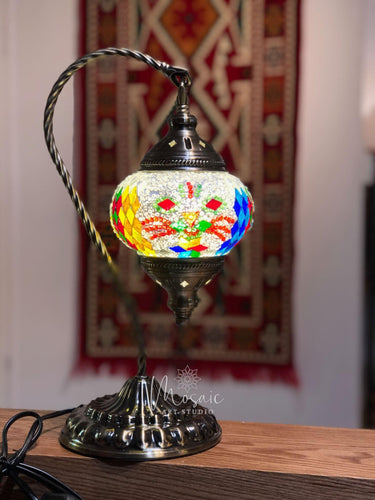
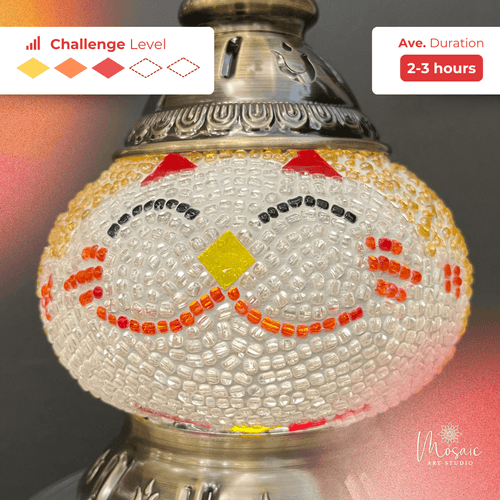
Artwork by Students
Be inspired by some of our students' creative masterpieces.
STEP 4: Grouting

a. Mix Grout Powder
To start, pour 30ml of water into the measuring cup. Then, slowly add the grout mix while continuously stirring using the plastic stick until the desired texture, similar to toothpaste, is achieved.

b. Apply The Mixture
To apply the mixture, you can use the provided plastic stick or your hand. If applying by hand, always wear the protective gloves included in your kit to prevent skin irritation. Make sure to spread the grout evenly over each hole to avoid gaps and ensure a polished finish. Wait for 10–20 minutes for the grout to set in and work its magic.


c. Remove Excessive Coating
To clean the glass globe mosaic, first soak the sponge in clean water. Gently brush the whole surface with the wet sponge. If the sponge gets dirty, soak it again and repeat the brushing gently until you can see the vibrant colours of the glass and beads.For the mosaic pieces, it's enough to clean the surface. However, to enhance the beauty of the beads, remove the grout and leave 50% of their tops uncovered.

Installing the Lamp
STEP 1
Squeeze the three clips on the base

STEP 2
Insert the glass globe into the base through the clip. Beware your fingers.

STEP 3
Squeeze the three clips on the cap and push into the upper side of the glass globe.

STEP 4
Here comes the lighting ceremony!
